
RaceBox Mini S
Here you learn how easy it is to use the new RaceBox Mini S with MX Buddy
Intro
The RaceBox Mini S is the most cutting-edge lap timing device you can buy, featuring a 25Hz GPS and a crazy precision of ~10cm. It is shock and splash resistant, just perfect for moto!
The following steps will show you, how MX Buddy works with the RaceBox Mini S.
Prerequisites
If you haven’t already, configure a track for lap timing.
Then setup your race day, like described here.
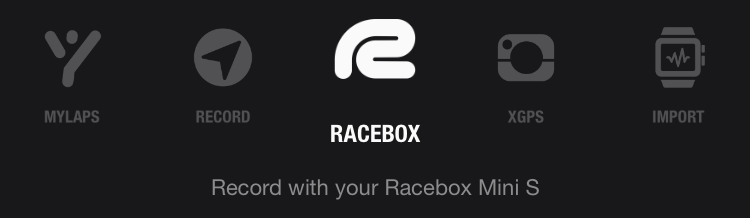
The new lap timing option for the RaceBox Mini S can be found here:
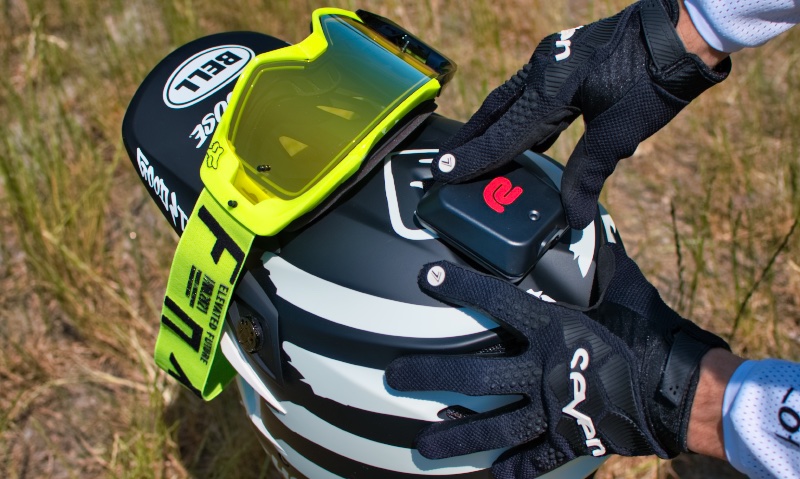
Step 1 - Mount the Device
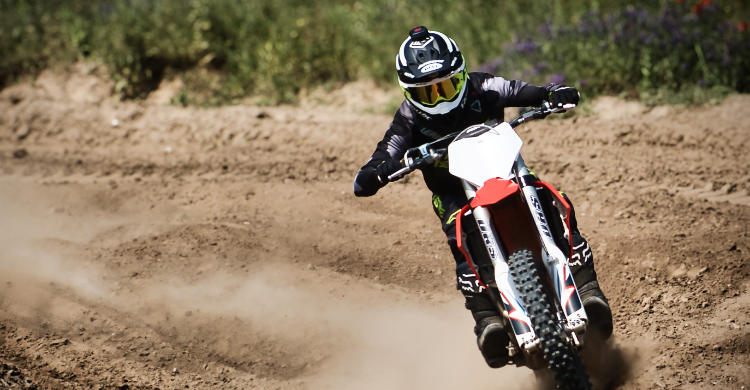
The best mounting position for moto is on top of your helmet. This ensures that the device always has the best view of the sky and thus provides the best possible results.
You can also mount it on the front or rear fender or behind the number plate of your bike. Just try it out and see how well it works with the conditions on your track. In my experience, the RaceBox delivers impressive results even when mounted behind the number plate!
⚠️ Note: If you want to analyze race starts, you will only get valid results, if you mount the device on your helmet!
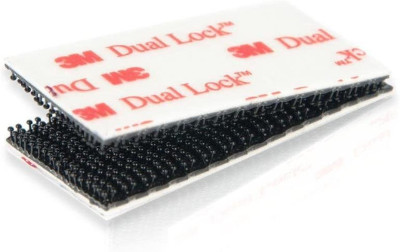
How to mount
A very secure and flexible way of mounting the device is to use 3M velcro tape. I have had the best experience with a combination of 3M SJ3551 on the device and 3M SJ3540 on the helmet or motorcycle.
Step 2 - Start Recording
The RaceBox Mini was designed without buttons to make it as robust and reliable as possible. All operations are performed via Bluetooth.
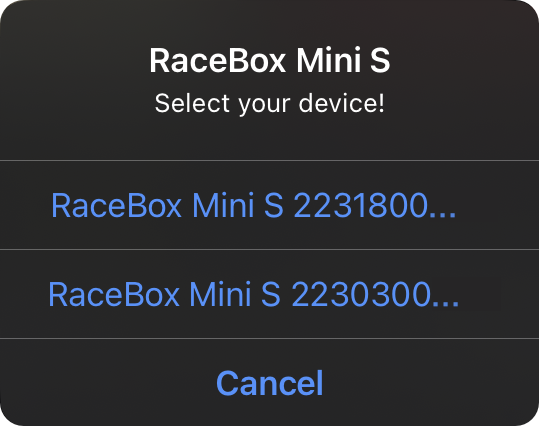
First choose RACEBOX from the recording options and START. Then hit Connect and select the device you want to use. MX Buddy shows all RaceBox Mini S nearby sorted by distance. The nearest device is always on top of the list. So, if you're in a group of riders, make sure you are closest to your device. Otherwise you would have to deal with the serial number 😉
Once the RaceBox is connected, its LED turns blue.
The device will then establish a GPS connection. This may take a few seconds. In MX Buddy the recording button shows the current progress. And as soon as the GPS connection is established, the button is enabled and you can start the recording by hitting Record.

Now you can safely disconnect from the device, leave your phone in the pits and go ride! 👊✊
Step 3 - Stop Recording
When you return, open MX Buddy and connect the RaceBox Mini S again. Then select Stop.
Step 4 - Download the Data
Select Download and MX Buddy immediately starts downloading all data from the device.
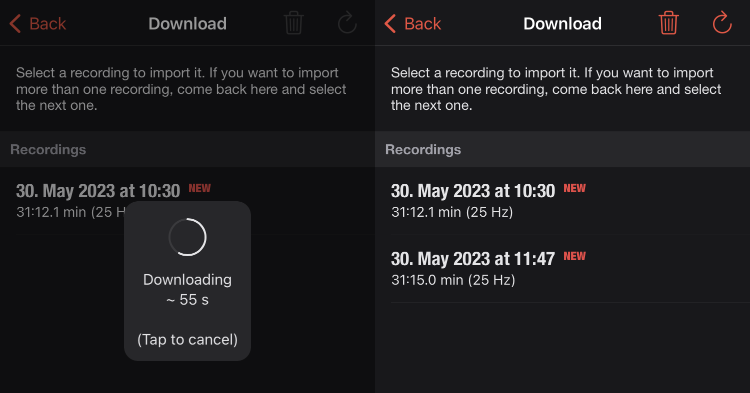
You can also restart the download by hitting the refresh button at the top of the view.
Once downloaded, your riding sessions will be available here until you quit the app, without the need for a reconnection to the device.
Now select the session you want to import.
Then adjust the map if necessary, add your notes and save the session.
Related Links
- ► How To - GPS drift correction
- ► How To - Find the fastest lines
- ► How To - Analyze starts
- ► Read the docs
More
Settings
Under Settings you configure the device access and make settings for your next recording.
For regular motocross sessions, you can leave the settings at their defaults. You might want to lower the data rate (e.g. to 10Hz) if you want to do longer rides (> 2h) or disable the recording optimization in case you want to analyze race starts.
Status
Once your RaceBox Mini S is connected, you'll also find its status on the Settings view.

Keep an eye on both, battery and memory, before you start your next recording!
Clear Results
In the Download view you will find a small icon of a trash can at the top. Tap it to delete all recordings on your device.
Make sure you clear your device regularly, otherwise you won't be able to make new recordings. Either do this after every import or at least at the end of the day.
